Course Title: Mixing and Mastering in Cubase:
A Complete Guide for Beginners to Pros: Tutorial 2 (Part 2)
About Course: This is basic overview of the course. It can
be changed due to your demands / requirements. We’ll try to cover all aspects
of the cubase that we required during mixing and mastering.
Essential
Studio Setup for Mixing & Mastering: Everything You Need to Get Started
Before
diving into Cubase for mixing and mastering course, it’s crucial to have proper
studio setup or atleast
3. Why Studio Monitors
and Why not Speakers (Studio Monitors vs Speakers):
4. Why Headphones Monitors
Why not PC or Gaming Headphones for Monitoring (Gaming Headphones vs Headphones
Monitors)
While studio monitors are essential, having a pair of high-quality studio headphones is also important, especially when checking details that might go unnoticed on monitors. Similarly like speakers , Gaming headphones or PC headphones add some color to the track and not give flat response.
- Open-back
headphones:
Provide natural sound but can leak audio (ideal for mixing).
- Closed-back headphones: Offer isolation, making them great for tracking and recording.
5. Why Acoustic
Treatment?
a. Even the best equipment can’t compensate for poor room acoustics. Investing in acoustic treatment ensures that the sound you’re hearing is accurate and not distorted by room reflections.
·
Bass
Traps:
Place in corners to reduce low-frequency buildup.
·
Absorption
Panels:
Help absorb mid and high frequencies to reduce echoes.
·
Diffusion
Panels:
Scatter sound waves, preventing sound reflections from dominating your space.
b.
I
can’t mix well if vocal or instrument not recording well. Therefore, to record
vocal or instruments it is very important to have a proper acoustic treatment. In
other words, I want the vocal without any environment or room noise like room
echo sound or reflection. Therefore, I can mix well if vocal or instrument
recording is totally dry. Total dry means without any effect i.e no echo, no
room sound, no reflection etc s
c.
For
properly acoustic treatment, vocal booth or acoustic treatment panels are
essential. At the last, I want to say whatever you do, it does not matter how
you done your acoustic treatment but your vocal or instrument should be record
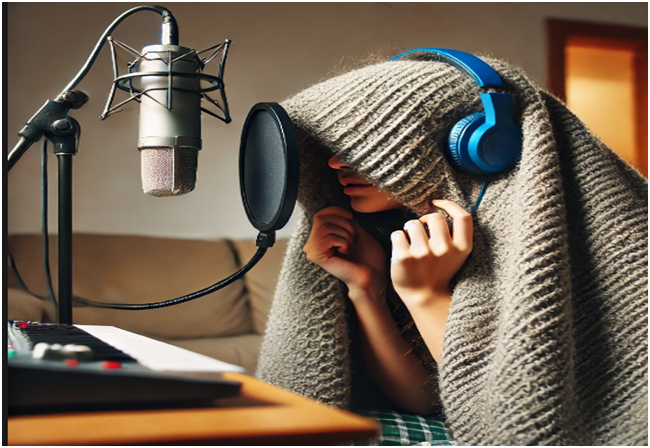
without any echo or distortion sound. Here are some funny method that artist done
for vocal recording:
6. MIDI Controller
A MIDI controller is essential for composing and producing in Cubase, especially if you work with virtual instruments (VSTs) or electronic music. Features to Look For enough keys for your playing style (25, 49, or 61 keys).
7. Microphones for
Recording
And the most important good-quality microphone is key for recording vocals or instruments. The type of mic you choose depends on what you’re recording.
· Condenser Microphones: Best for vocals and instruments due to their sensitivity.
· Dynamic Microphones: Ideal for louder sources such as drums and guitar amps.
8. Cables and Stands
Don’t underestimate the importance of good-quality XLR cables and sturdy mic stands. Poor cables can introduce noise into your recordings, and a solid stand will prevent microphone movement during a session.
9. External Hard Drives
for Backup (Optional)
Always keep a backup of your projects on an external hard drive. Audio files can be large, and losing a session can be catastrophic.
10. Software Essentials
Aside from Cubase, having the right plugins for mixing and mastering can take your productions to the next level.
- EQ and
Compression Plugins: FabFilter Pro-Q, Waves SSL
G-Master Buss Compressor.
- Reverb and
Delay Plugins: Valhalla Room, Soundtoys EchoBoy.
- Mastering
Plugins:
iZotope Ozone, Waves L2 Ultramaximizer.
11. Backup Power (UPS)
(Optional)
A Uninterruptible Power Supply (UPS) is often overlooked but can save you from losing work during a power outage. A good UPS gives you time to save your project and shut down safely.
Conclusion
This studio setup guide covers everything you need to start mixing and mastering with Cubase. With the right hardware, software, and acoustic environment, you’ll be on your way to producing professional-quality music.
Setting up your home studio might require an investment, but each piece of equipment plays a crucial role in the quality of your final mixes.
In the next tutorial we will talk about the cost of each instrument from low budget to high budget and also talk about the complete cost / budget to start studio setup.


0 Comments